By: Jason Warnock
September 16, 2020
Product Update – 9/15

All,
We have completed our latest software release that includes the following features:
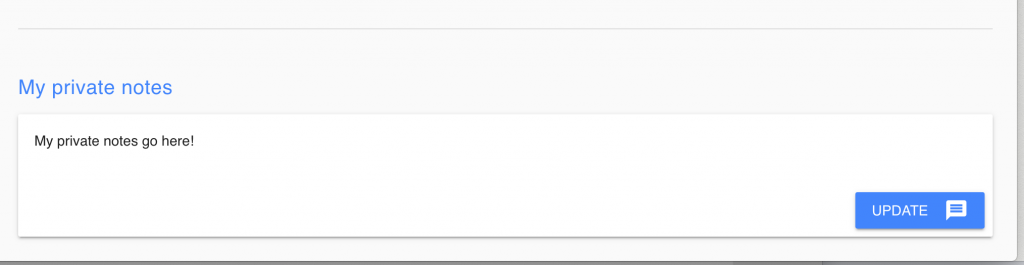
Feature One: Private Notes in Consultation Room:
Now within the consultation room, you can add private consultation notes that are not visible to the client. You will see a new section in the consultation room with the title ‘Private Notes’
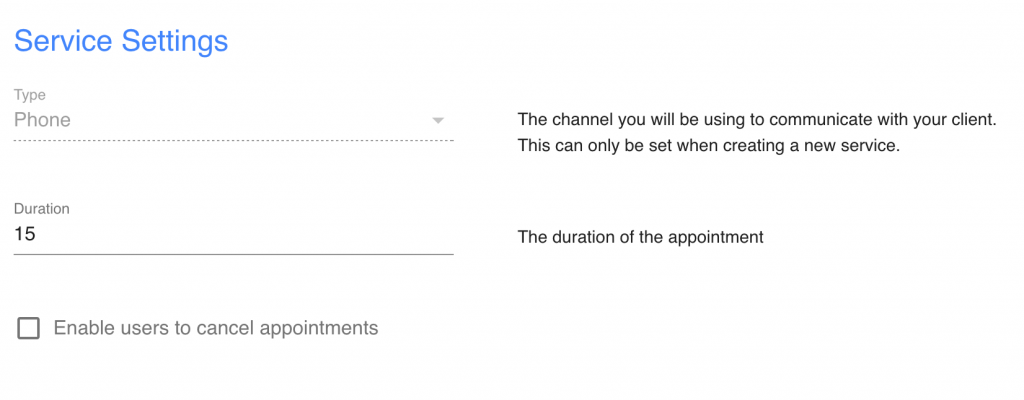
Feature Two: Ability for Clients to Cancel Consultations
You can now enable your clients to cancel a consultation before it begins. This feature can be enabled at the service level within the specific service configuration. A new tick-box appears (shown below) that will enable a service to be cancelled.
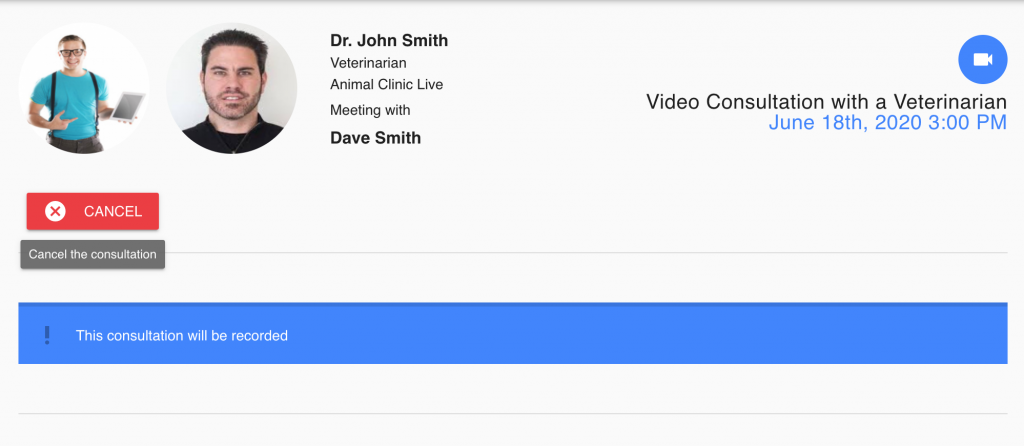
When the cancellation feature is enabled, the ‘cancel’ button will appear in the client consultation room (shown below). You will receive an email and system notification when an appointment is cancelled.
Feature Three: Service Categories
For clinics that offer a large amount of services, we now offer the ability to group services into categories. This simplifies the user navigation of your services on the landing page and dashboard. This feature is OPTIONAL and only recommended for power-users offering a larger amount of services.
Within the Services section, a new ‘Category’ section sits at the top. You can easily create a new category by clicking ‘Create’.
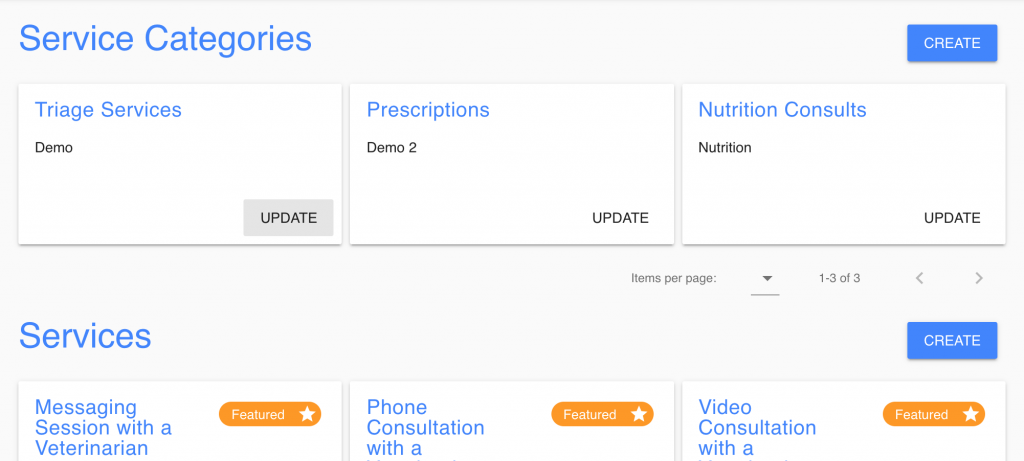
Once the category is created, you can assign a service to the category in the specific service configuration (shown below)
To enable categories on the landing page and user dashboard, it needs to be enabled within the page editor. Within the page editor, locate the ‘services module’ and click ‘edit’. From here, click ‘change style’ and select the third style on the right (shown below) and then click ‘save’ at the bottom of the module.
June 17, 2020
Product Update – 6/17
Greetings All,
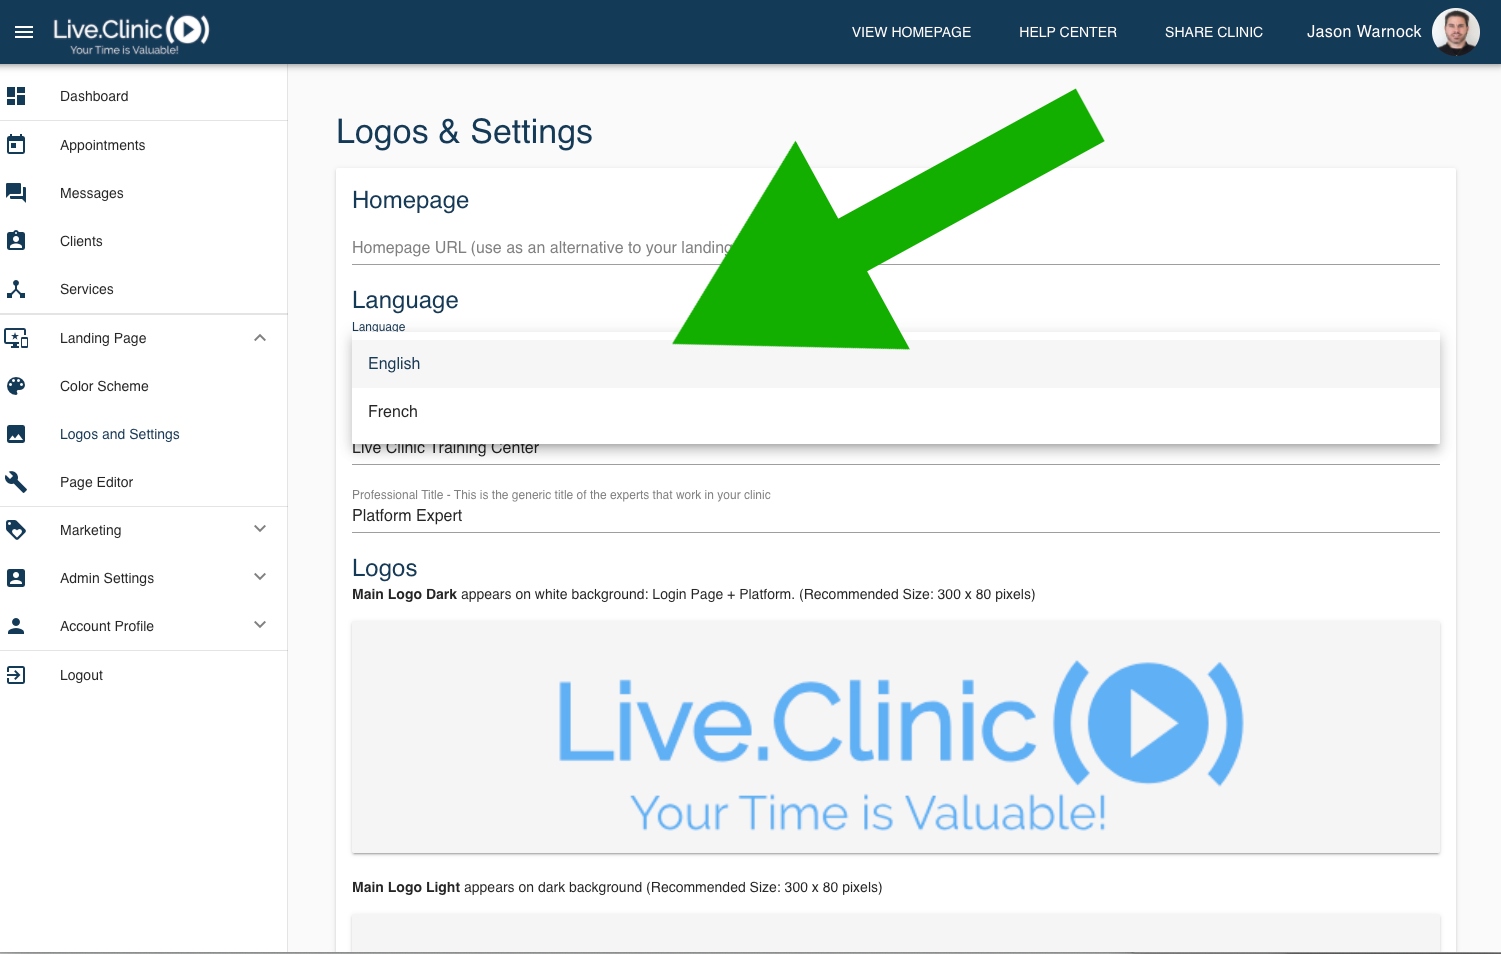
We have completed our latest software release. The latest release includes french language support for the entire client facing experience including Landing page and Client Portal. If you’re a french speaking clinic, you can now set the language for your landing page and complete user experience to french!
To change the language,
– Login to your platform
– Click ‘Landing Page’ from the left-hand navigation column
– Under the new ‘Languages’ section, you can select between english and french
June 11, 2020
How Do We Look? New Website is Live
We are thrilled that our new website is live. Take a look around and let us know what you think!
Live.Clinic Team
June 11, 2020
Over 11,000 Consultations Performed
We are thrilled to announce that over 11,000 consultations have been performed on our platform since April 1st, 2020. This is a major milestone for our company.
June 11, 2020
Product Update – 6/10
Greetings All,
We successfully rolled out our new permissions system last week. This new capability expands upon our ‘administrator | non administrator’ functionality. For current administrators, you can now adjust platform section visibility for all of your users in the system, and also add unlimited ‘non-consulting’ users at no charge. This is useful for your Practice Managers, Reception, Administrators etc who won’t be performing consultations, but will be co-ordinating consultations.
The new permission system is accessible within ‘Admin Settings -> Employee Management’. For each employee in the system, you can adjust their role and section visibility. Example: If you want a specific user to have access to consultation services and the landing page section only, that can easily be set now as you can control visibility to each section of the platform per user.
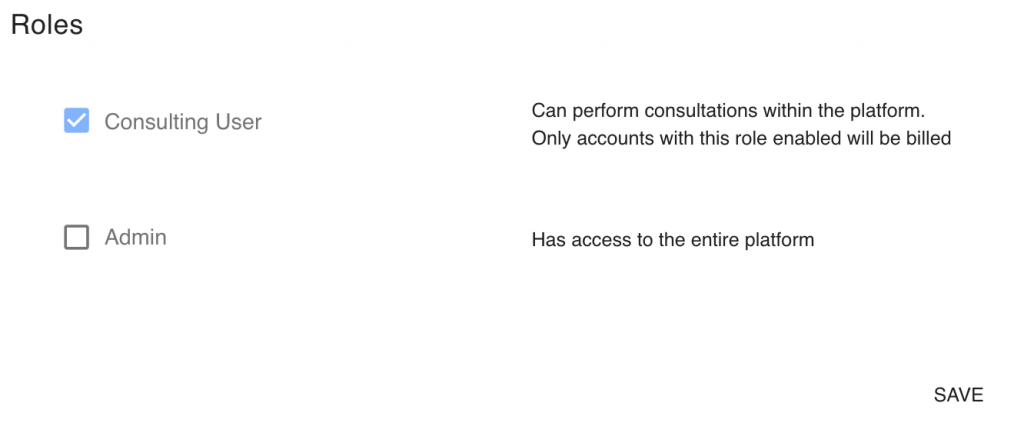
Setting the Role for a Specific User:
Consulting User: Can perform consultations within the platform. Only accounts with this role enabled will be billed on a monthly basis.
Admin: Is typically the platform owner and has access to every section / feature within the platform.
Note: You do not need to set a role for a specific user if you don’t want them having consultation capabilities or being an admin. Simply leave both boxes unchecked. Don’t forget to click ‘Save’ if you’re making any changes to the roles.
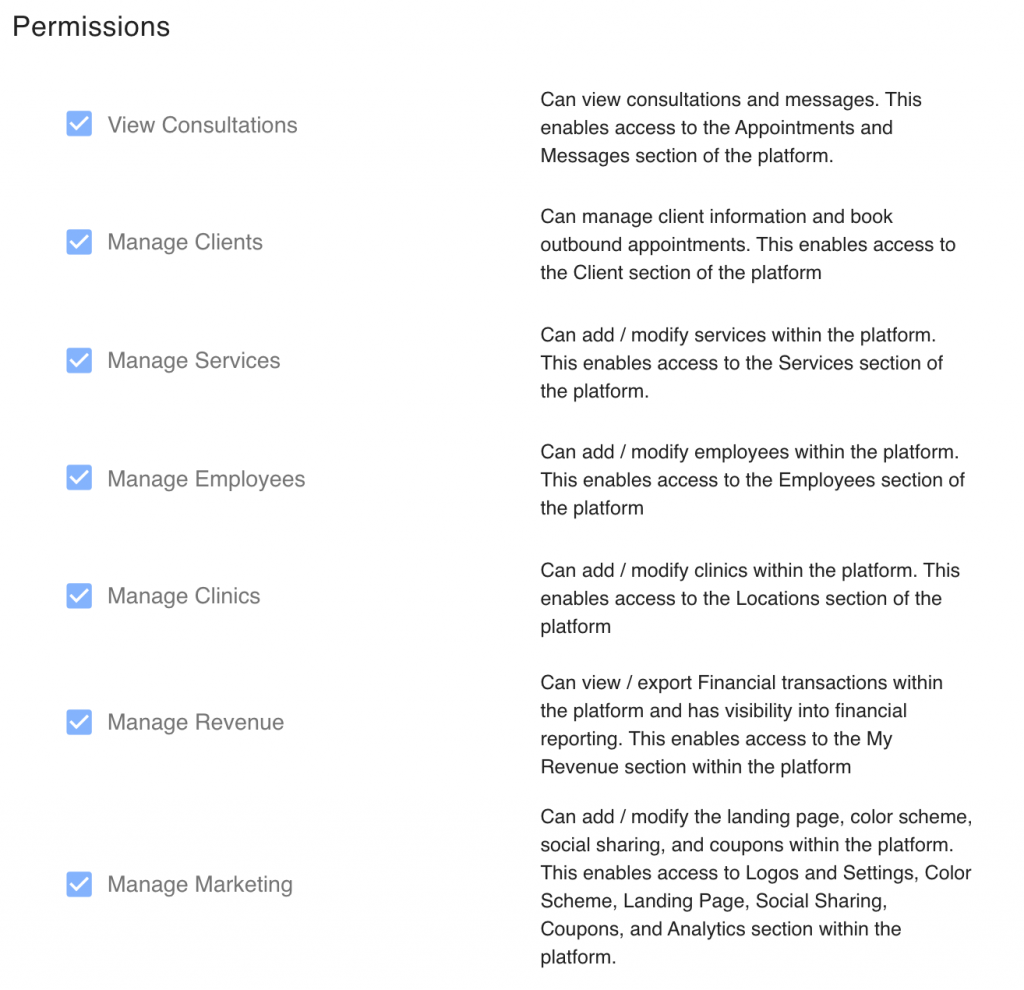
Setting Permissions For a Specific User:
You can set visibility for a user to specific sections of the site by checking the boxes associated to each area as shown below. You do not need to select a role in order to set permissions. Remember to click ‘Save’ if you’re making any changes to permissions.